How to Blur Background in Capcut pc & iPhone?
CapCut is an application that has quickly become well-known among those who enjoy editing videos. Its extremely fantastic and user-friendly features are what drew the editors to this application. The CapCut software helps young and inexperienced editors create engaging videos for their audience in addition to professionals in the field. Despite this, CapCut is an incredibly intuitive and user-friendly tool.
With the increasing popularity of short and entertaining videos, CapCut gives users the ability to apply some high-end and sophisticated effects to their videos. One may do much more with the CapCut app than only adding popular music, blur, speed adjustments, zoom effects, trendy filters, and backdrop editing to their films. All of this is available to CapCut users without charge.
What Does the Blur Background in CapCut Effect Mean?
Some of you may be asking what the blur effect is and why it’s necessary in the videos, even if many of you may be well aware of it. You don’t need to worry, though, because this post will teach you all there is to know about blur features and how to use them in films.
One of two purposes for the blur effects is to either erase or obscure a certain portion of the video or to emphasize or focus on a single feature of it. Applying the blur effects to your videos is a good idea for both of these reasons.

You may need to conceal certain parts of your video for safety reasons because not all of the content you share on social media is appropriate for all of your viewers. This is a really useful function that lets you customize the video for your audience and share it on TikTok or any other social media account. For all of the YouTubers and vloggers out there, this is beneficial.
This effect alleviates the worst suffering for content creators and editors. Blur effects are your saving grace in situations where you have the ideal video clip, but the background is inappropriate. Your movie is now visually appealing and ready to be shared on your feed for friends and family to view. Simply apply the blur effect to your videos to blur the background in Capcut.
How Can I Blur My Background in Capcut on a PC?
While blurring video backgrounds on Capcut PC differs from Android and iPhone, it is also not difficult because of Capcut PC’s user-friendly interface.
You may use Capcut PC to blur the background in Capcut by following these steps:
Adding Your Video
The first step in editing a video is to import the one you wish to change. Choose “New Project” from the CapCut interface to open the main workspace. You can also include any additional media items that you might require for your project, like audio files and pictures.
Applying the Blurred Effect
- Drag your imported video onto the timeline to begin editing. Proceed to the “Effects” section after that. The blur effect is only one of the many effects you may add to your video using this selection.
- There are options such as Motion Blur background in Capcut, Slanted Blur, and Halo Blur. We’ll use the common “Blur” effect as an example in this article.
- Align this effect with your video by dragging it onto the timeline. You are welcome to change the blur effect’s strength to suit your preferences.
Exporting the Rough Video
- It’s time to export your video when the level of blur effect meets your needs. Choose your preferred location on your computer, give your film a name, and then click the “Export” button.
- You can take the video and effect out of the timeline once the exporting process is complete. Your original video is obscured during this process, and we’ll use that version in the following stages.
Eliminating the Video Subject
- Now that your hazy movie has been exported, you may make the finishing touch. First, open CapCut and import the previously exported, blurry video. This video can be dragged onto the timeline.
- After that, import your original video and drag it to a different track above the timeline’s blurry video. Once the original video has been placed, select the “Cutout” option from the interface’s right-side menu.
- If you choose “Auto Cutout,” CapCut will automatically remove the video’s subject.
- When it’s done, the topic of your movie will be clear and sharp, but the surroundings will have become blurry. It’s important to note that the “Auto Cutout” capability is limited to automatically identifying portraits.
- You may need to manually remove any other subjects that are in your movie.
Complete Editing and Video Export
- Now that everything appears to be as it should, export your finished video. Choose where you want to save the video on your computer, give it a name, and click the “Export” button.
- You’ve been successful in blurring your movie’s background with CapCut on your PC.
How Can I Blur My Background in Capcut on iPhone and Android?
On both iPhone and Android, Capcut’s blurring video background is comparable. Let’s look at how to quickly blur the backdrop in Capcut on both an iPhone and an Android device:
Starting a New Project
When you first start CapCut after installation, an easy-to-use interface will appear. To begin, tap the “New Project” button. When you do this, a window will appear asking you to import the video you wish to edit from your device’s library. Choose the video that you like to have its background blurred.
How to Use the Blur Effect
- The addition of the blur effect is the most crucial next stage. The video editing interface contains the ‘Effects’ option. An inventory of every impact that is available will show up when you tap on it. From the “Video Effects” category, select “Basic.” This is the potential location of the “Blur” effect.

- Just tap on it to include it in your video. By default, the effect will cover the entire duration of the video clip.
- In CapCut, you may also adjust the blur effect’s intensity. the screen’s lower left corner contains the “Adjust” button. To make the required changes, tap it The slider can then be used to modify the blur intensity to fit your preferences.
Establishing an Overlay
- This is the point at which the magic occurs. You’ll need to employ the overlay option to maintain focus on your main topic as the surroundings become blurry.
- After tapping the “Overlay” button, select “Add overlay.” This will cause your gallery to open, and you will need to import the same video clip from there again.
Taking Out the Background
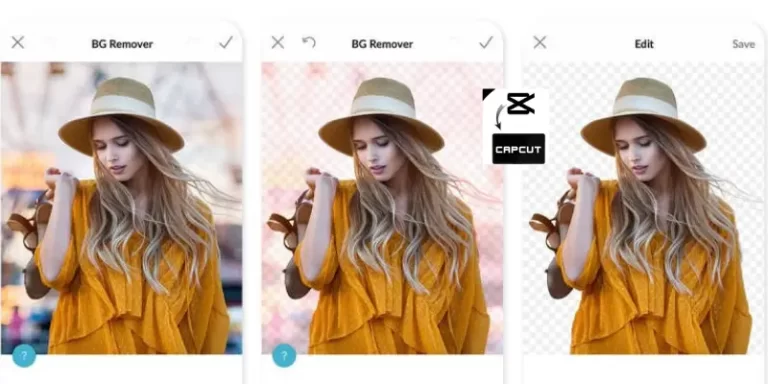
- Once the overlay has been added, locate the “Cutout” button by scrolling down. When you tap it, the “Remove Background” option will appear. To make the video overlay without a background, tap on it. The AI-powered CapCut tool will process and flawlessly remove the background in a matter of seconds.
- After that, you can enlarge the main subject in the movie by zooming in, which will increase the subject’s emphasis even more.
Complete Editing and Video Export
- The movie should be exported once you’ve added and modified all the effects. CapCut provides multiple export options, such as varying frame rates and resolutions.
- After selecting the parameters that best meet your needs, click “Export.” Following editing, the movie will be saved to your device’s gallery.
Additionally, you might look at well-liked templates to make your videos.
The blur background effects in CapCut are beneficial
Cost-free and intuitive
CapCut emphasizes the user experience from start to finish by providing you with high-quality tools and free templates so you can produce amazing content for every scenario. Take a chance and do magic.
Editing capabilities
CapCut offers a plethora of editing choices in addition to the video backdrop blur feature to enhance the quality of your movie. For example, you can click to delete undesired individuals or objects.
Personal haze
You can adjust the blur’s type and strength using CapCut to your preferred level. Instead of getting a generic blur, you will achieve the exact and desired blur effect in this approach.

The usefulness of a video with a cloudy background
Parts of a video must be blurred to emphasize its main points for private, professional, or public purposes.
Produce a cinematic look
A higher depth of focus can be added by blurring the background video, which will ultimately result in a lot more polished and refined video that can be utilized for all professional purposes, including music videos and short films.
Hide problems
Subtle blurring is a very useful editing tool that may be used for more than just hiding objects. It can also be used to cover up errors and flaws in the video or even to eliminate fine lines or blemishes from the subject’s face.
Preserve personal space
Public videos frequently show hundreds of people in the background who have given their permission to be included in the video for public consumption. You may preserve anonymity and respect users’ privacy by using a blur effect in videos.
FAQS
Final Wording
Your videos’ professional look can be greatly increased by using CapCut to blur the background. No matter your experience level, our multiplatform, user-friendly tool makes the work simple. You may add this thrilling impact to your films and produce visually striking, high-caliber content if you follow our guide.


